

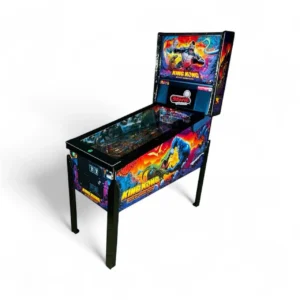
 King Kong (Pro) Pinball Machine Model
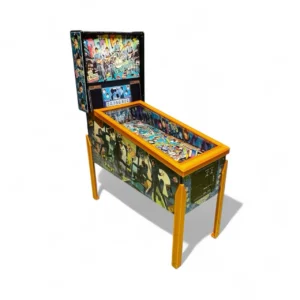 The Beatles (Gold) Pinball Machine Model
 Dungeons & Dragons (Pro) Pinball Machine Model
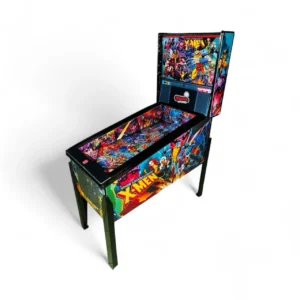 The Uncanny X-Men (Pro) Pinball Machine Model
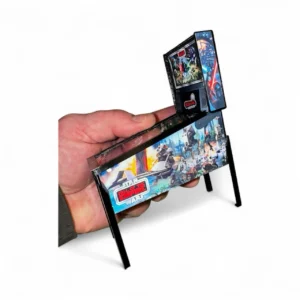 Star Wars Fall of the Empire (Pro) Pinball Machine Model
 King Kong (Pro) Pinball Machine Model
 The Beatles (Gold) Pinball Machine Model
 Dungeons & Dragons (Pro) Pinball Machine Model
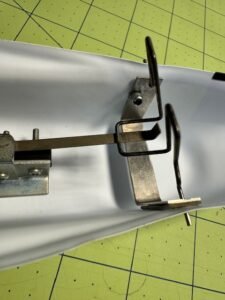
Space Shuttle Hardware Installation Tips
Preparation:
Drilling and Installation:
Gate Hardware:
Switch Hardware:
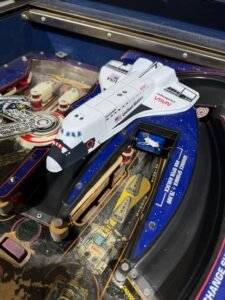
Mounting the Shuttle:
Refer to Photos: For visual guidance, refer to the provided photos demonstrating hardware installation.
Note: Always double-check alignment and fit before drilling permanent holes.







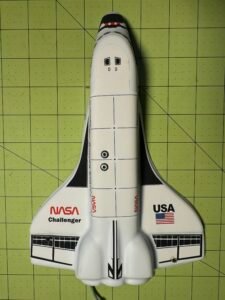
Sticker Installation
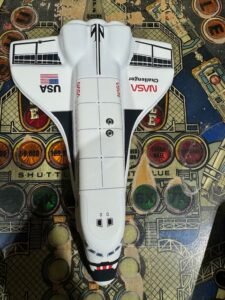
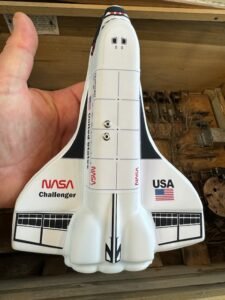
1. Left wing – place on the left wing as shown in photos.
2. Right wing – place on the right wing as shown in photos.
3. Left flap – goes behind the left wing in the flap area.
4. Right flap – goes behind the right wing in the flap area.
5. Tail fin – goes on the back tail fin and wraps around the back on both sides.
6. Fuselage – place fuselage sticker starting at the back and align it straight down the middle and wrap the edges down each side equally.
7. Cockpit – place on the flat portion of the nose cone near the top of the shuttle as shown in photos and wrap around the sides.
8. Nose cone – start by aligning the white tab just under the center of the cockpit sticker (should touch, but not overlap) then affix the middle part of the sticker down the nose cone prior to rolling each side around the nose cone of the shuttle. Fold over any excess sticker to the inside of the shuttle or cut with scissors.

On orders over $100
Amazing gift ideas
30-day return policy
Online customer support
